With AI (Artificial Intelligence) so prominent these days, it’s easy to feel like the sky…
How to Write an Illustrated Middle Grade Novel Using Scrivener
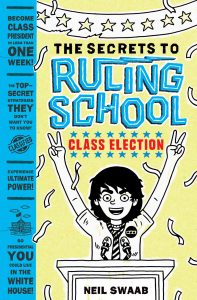
Writing an illustrated middle grade novel is particularly challenging because both the text and illustrations need to be accounted for and work harmoniously within the manuscript. To simplify the process of writing my own illustrated middle grade books The Secrets to Ruling School (Without Even Trying) and The Secrets to Ruling School: Class Election, I used a program called Scrivener. Here’s how I was able to make that process manageable:
About Scrivener
First off, let’s talk about what Scrivener is in case you’re not aware of it. Unlike Microsoft Word, which handles text as one long document, Scrivener is a writing program that works by using a folder and file-based system that exports to various industry-standard formats when the work is completed—from publisher-ready manuscripts to movie scripts. It also has a ton of nifty features like a corkboard outliner, document versioning, and a name generator to come up with character names. It’s an awesome piece of software for both Mac and Windows-based machines.
What makes Scrivener particularly useful for writing an illustrated middle grade novel is that its folder and file-based structure allows authors to break down manuscripts into manageable chunks that can be worked on independently yet also viewed and tweaked as a whole. Additionally, because Scrivener is so customizable, different formats can be set up and adjusted to the author’s specifications so picture and text indicators, speech balloons, and other elements can be input and styled with minimal effort.
The downside to Scrivener is that it’s such a robust program it can be intimidating to learn and takes a while to master. I’d compare it to Photoshop in that way—easy to get a basic handle on, but requires some serious commitment to become a wizard at it. That being said, I was able to work with the program fairly effortlessly once I got the hang of it.
So, now that you know what Scrivener is, let’s get into the details:
Setup
As I mentioned, Scrivener works with a folder and file-based structure. Typically, folders represent chapters and the files inside of them represent the text in each chapter. For my books—which also have parts—I set up folders for both the parts and the chapters. Here’s what my part structure looks like for Secrets to Ruling School: Class Election:
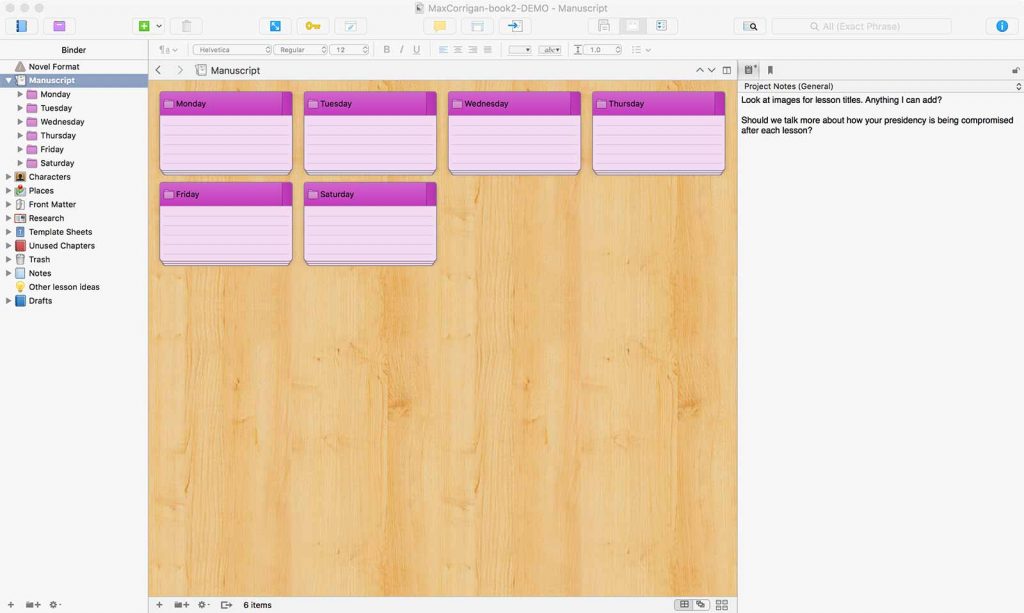
As you can see, each part of my book takes place on a different day. On the left side (the binder) is the folder structure showing the parts of my book. In the middle section is a corkboard representation of those same parts. On the righthand side of the screen is the inspector where general project notes are kept for things I wanted to track or be reminded of.
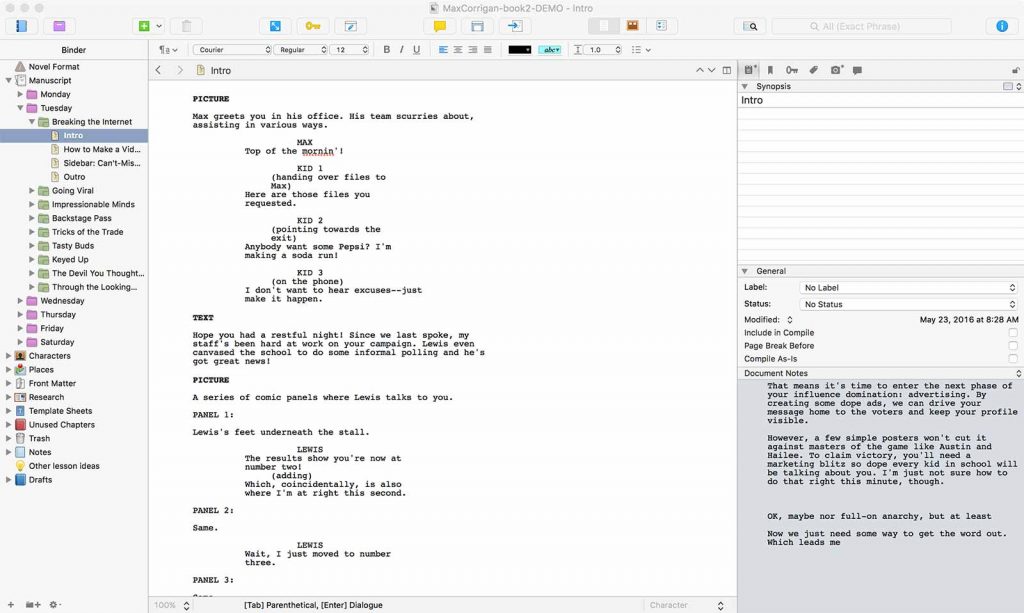
Inside of each part folder is a series of chapter folders and, inside of them, documents like so:
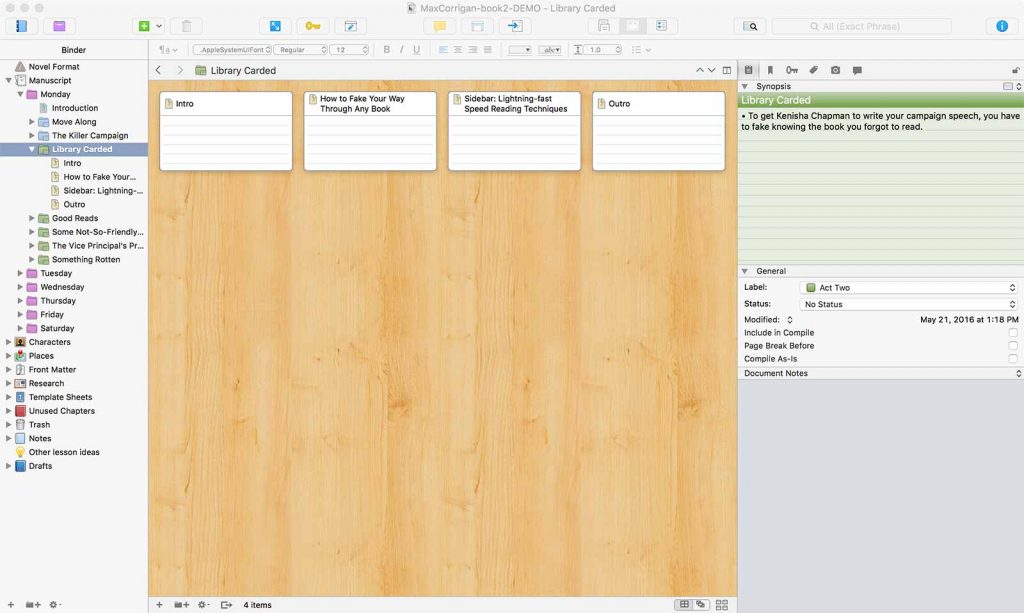
There may be one document in each chapter or there may be multiple documents depending on how I wanted to split up the writing. For chapters that were more straightforward, I only needed one document. For chapters that were more complicated, I used several. Many chapters in my books have story components as well as lessons where Max, the main character, teaches the reader how to do something cool like pretend to have read a book for class or explain how to trade a crummy lunch for an amazing lunch. For those chapters I typically split them up over four documents: an intro document where the story takes place; the lesson it segues into; a sidebar that runs concurrently with the lesson; and a final document where the reader jumps back into the story. That allowed me to manage each aspect of the chapter on its own terms and helped tremendously from an organizational standpoint.
On the right side of the screen, you can also see that the inspector shows a synopsis of what was supposed to happen in each chapter. That was culled from my outline, which I’ll talk about next.
Outlining
Outlining is one of Scrivener’s strongest assets. I’m a big proponent of corkboard outlining and Scrivener helped me to organize things easily. Here’s what my corkboard for The Secrets to Ruling School: Class Election looked like:
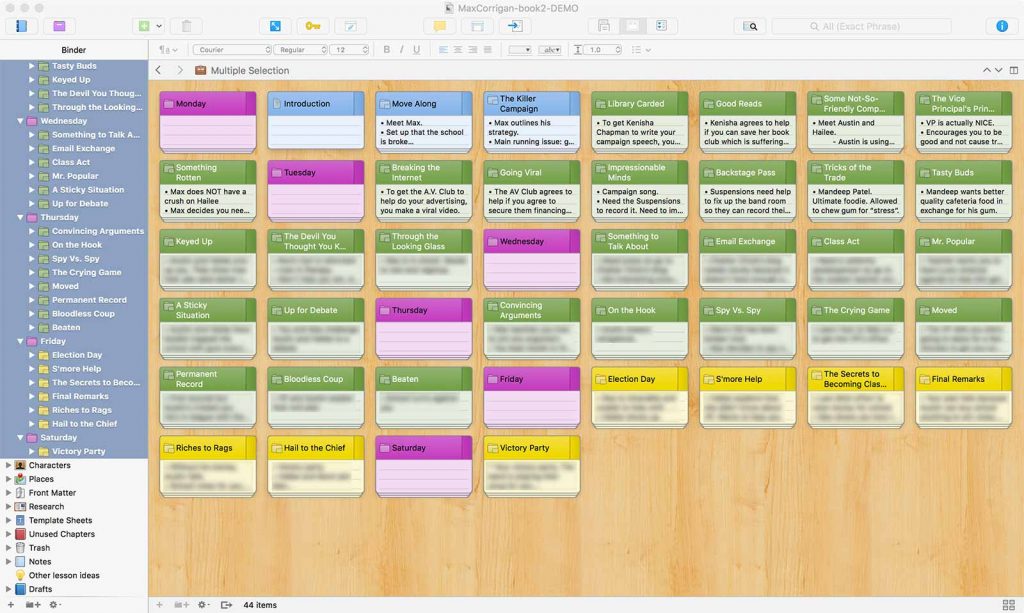
Everything that happens in the story is color-coded. Purple represents the parts of the book; blue represents Act 1; green represents Act 2; and yellow represents Act 3. Color-coding like this allowed me to visually see the structure of my book and determine the flow of my acts. I also jotted down the basic idea of what happened in each chapter on the notecards to help envision it too. (I’ve blurred out later parts of the story so as not to give anything away.)
What’s nice about Scrivener is that these cards are not static. I was able to move them around as I saw fit and reorganized my entire story as if it actually were on a real corkboard. This was tremendously helpful in the early stages when I was trying to figure out how to actually plot out the novel.
Once I had my outline and structure set up, it was time to do the real work: writing!
Writing
Scrivener has a traditional manuscript format, but I opted not to use it for the Secrets to Ruling School series. Because there are so many pictures and comics with word balloons and dialogue in The Secrets to Ruling School, the format was almost closer to a screenplay. Luckily, Scrivener had that format as well. However, it wasn’t entirely what I needed, so I rectified that.
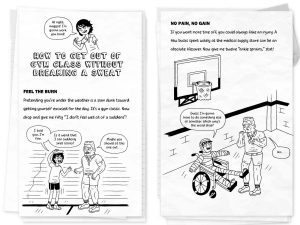
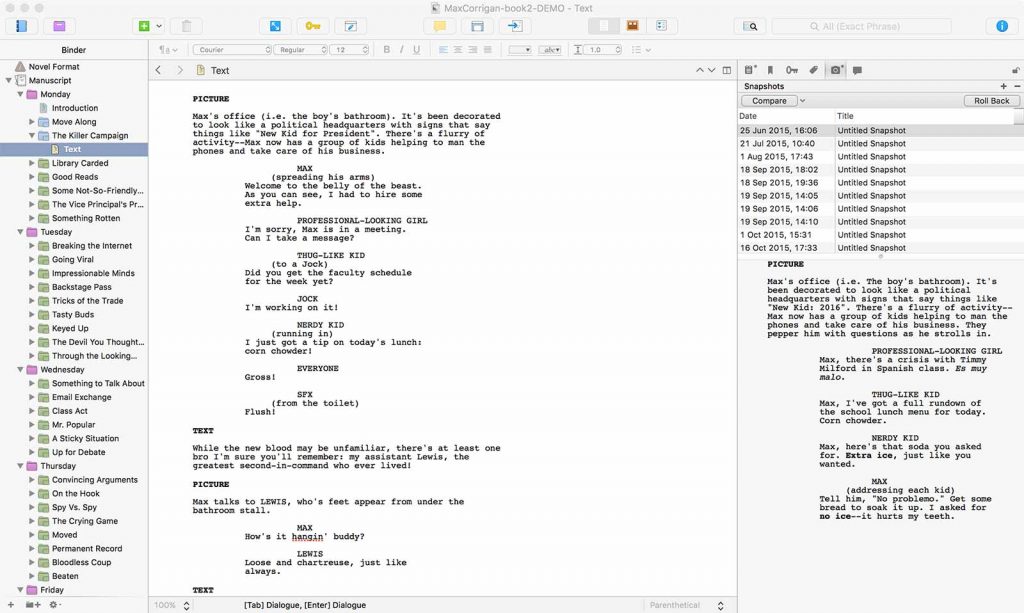
I tweaked Scrivener’s screenplay format by adding some custom elements to create my own special manuscript format that allowed me to use quick keys to autofill and style repeated headers like “Picture” or “Text”. That way, I could easily clarify what elements were what in the manuscript without having to type them in manually each time. Here’s what an actual manuscript page from The Secrets to Ruling School: Class Election looks like:
As you’ll notice, I described when something was a picture and when something was text. And for each picture, I fully delineated what would be in it as well as any accompanying word balloons and sound effects which were indented using the modified screenplay template. You’ll also notice I jotted down notes to myself in each document using the inspector. That way, if I was unsure about something or had ideas I wanted to keep track of, they would be part of that specific document forever.
I proceeded writing out the complete story this way, document by document, chapter by chapter until it was completed. Once the first draft was done, the real work truly began: revisions.
Revisions
One of the nice things about working with Scrivener for my manuscript was that I didn’t have to save multiple files like draft-1.doc, draft-2.doc, etc. Instead, I used Scrivener’s snapshot feature to keep a digital record of everything in each document. Before proceeding to each new draft, I took a snapshot of all my files to ensure the information would be saved and could be reverted back to at any time (which I had to do on a few occasions). It was super nifty. You can check out some of my snapshots from one of my chapters below to see how I used it:
Additionally, I also created a folder in the binder for old drafts and copied the entire book into there at each new stage. Better safe than sorry!
After I was finished revising, it was time to send off the manuscript to my editor. Of course, to do this, I had to export it.
Exporting
Scrivener’s export option is called “Compile”. Basically, it compiles all the selected documents in your project and exports them into whatever type of output you set it up for. I’m not going to lie to you: compiling is one of the most confusing aspects of Scrivener. If you’re doing something basic from one of their templates, no problem. However, if you’re doing something more advanced, it can be a head-scratcher to say the least.
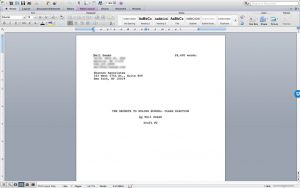
For my books, I set up Scrivener so that my part titles would be displayed sans numbers, my chapter titles would have a preceding chapter number spelled out “Chapter One, Chapter Two, etc.” before them, and dividers would appear between all the different sections within each chapter. The Scrivener file was exported as a Word Doc which included a cover page and a word count. Once I had a Word file I was happy with, it was ready to send off to the publisher!
Further Revisions
The only major issue with Scrivener is that it’s essentially built for first drafts (meaning, drafts that are worked on before they go to the publisher). While it has a revision and comment system, it’s not made to work with multiple people like the traditional editorial workflow demands. So, for The Secrets to Ruling School, once I got my editorial feedback, I generally stayed within Word and made changes there from that point forward. However, if the feedback was more extensive—say, rewriting an entire chapter from scratch—I would do that part in Scrivener, export it, and then copy and paste that section into Word.
The revision process wasn’t exactly ideal, but got the job done. And once the job was done, so was mine. At least the author part anyway. The illustrator part was still to come. But we’ll talk about that another time.
Final thoughts
So, that’s how I used Scrivener to write my illustrated middle grade novels. It’s a wonderful program and well worth checking out if you’d like to write one too. However, if Scrivener seems too bloated or daunting for you, there are other programs on the market I’d also recommend. I’d check out Ulysses if you don’t need the full power of Scrivener. It’s another folder and file-based writing program, but much simpler and prettier to look at. It also uses Markdown language, which I’m quite fond of writing in. And for simpler screenwriting stuff, I’d snag a copy of Slugline, which uses a Markdown hybrid language called Fountain. Can’t go wrong there if you’re sticking with a traditional screenplay format.
Whatever you decide to write in, have fun with it. Illustrated middle grade novels are unique and have their own specific set of challenges. But, by working effectively with the right software and workflow, you can minimize the effort and maximize the joy of bringing your stories to life.
Comments (0)